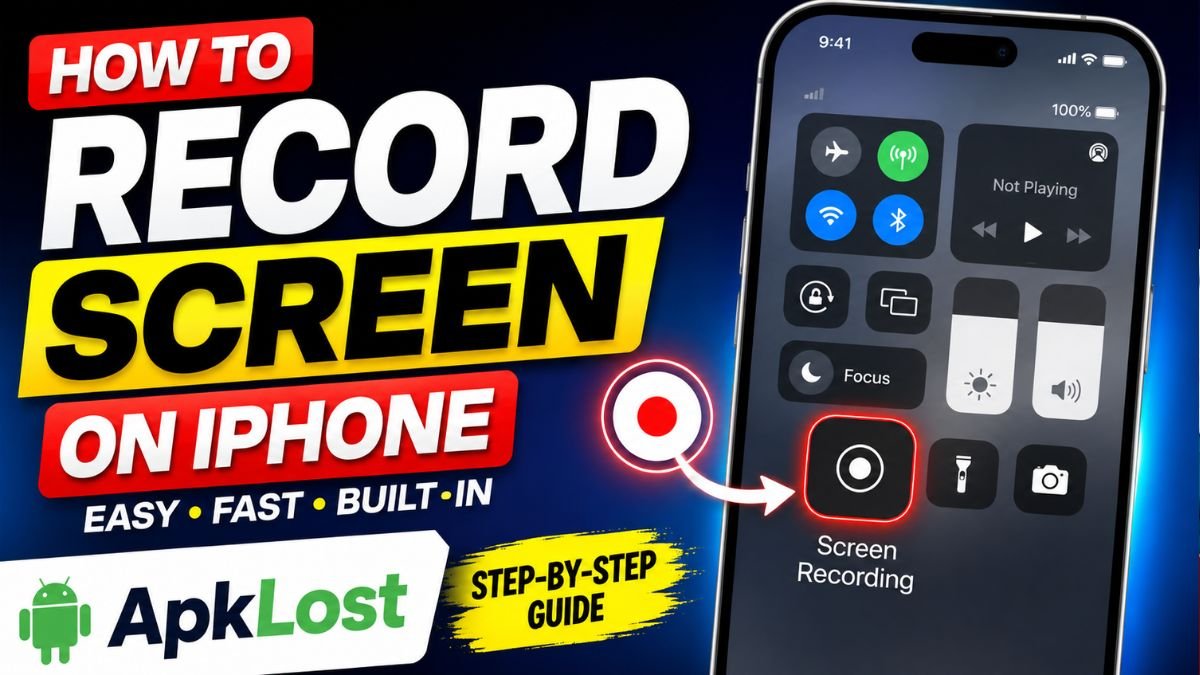
If you are wondering how to record screen in iPhone, you do not need to install a third-party screen recorder. iPhone includes a built-in Screen Recording feature that lets you capture everything happening on your display and save it as a video in the Photos app.
You can use iPhone screen recording to create tutorials, save app demonstrations, record gameplay, explain a problem, or capture an important process. You can also turn on the microphone when you want to add your own voice or other audio to the recording. Apple confirms that screen recordings are automatically saved to the Photos app.
How to Record Screen in iPhone
The process is simple and usually takes only a few seconds. Follow these steps:
Step 1: Open Control Center
On an iPhone with Face ID, swipe down from the top-right corner of the screen to open Control Center.
On older iPhone models with a Home button, swipe up from the bottom edge of the screen to open Control Center.
Step 2: Find the Screen Recording Button
Look for the Screen Recording icon in Control Center. It appears as a circle inside another circle.
If you cannot find the Screen Recording button, you can add it to Control Center. Apple’s current iPhone guide explains that you can open Control Center, touch and hold the background, select Add a Control, and choose Screen Recording.
Once you add the control, you normally do not need to add it again for future recordings.
Step 3: Start Screen Recording
Tap the Screen Recording button.
Your iPhone will display a three-second countdown before recording begins. Once the countdown finishes, close Control Center and perform whatever actions you want to capture on your screen.
For example, you can open an app, demonstrate a setting, show a website, record gameplay, or explain how to complete a task.
How to Screen Record With Audio on iPhone
If you want to record your voice while capturing the iPhone screen, you can turn on the microphone.
Open Control Center and touch and hold the Screen Recording button. Then tap Microphone to turn it on and select the option to start recording. After the three-second countdown, your iPhone will begin recording with microphone audio.
This is particularly useful when creating tutorials, app demonstrations, educational videos, or troubleshooting guides.
Remember to check your surroundings before recording if you do not want unwanted background sounds included.
How to Stop Screen Recording on iPhone
When you have finished recording, there are several ways to stop it.
You can tap the red recording indicator at the top of the screen and then choose the option to stop recording. You can also open Control Center and tap the red Screen Recording button.
After you stop the recording, the video is automatically saved to your Photos app.
Where Is Screen Recording Saved on iPhone?
Your iPhone automatically saves screen recordings to the Photos library. To find a recording, open the Photos app and look through your library.
On supported current iOS versions, you can also find screen recordings through Photos > Collections > Media Types > Screen Recordings.
From there, you can watch, edit, trim, share, or delete the recorded video just like other videos saved on your iPhone.
Can You Record Your iPhone Screen Without Sound?
Yes. Screen recording can be started without enabling the microphone. In that case, your own microphone audio will not be added to the recording.
If you need narration, simply touch and hold the Screen Recording control in Control Center and turn on the Microphone before starting the recording.
Why Is Screen Recording Not Working on My iPhone?
If you cannot find the Screen Recording option, check whether it has been added to Control Center. You can customize Control Center and add the Screen Recording control when necessary.
Some apps may also restrict the recording of their content. Apple notes that certain apps may not allow their audio or video content to be recorded. Screen recording also cannot be used at the same time as screen mirroring.
If your recording stops unexpectedly, make sure your iPhone has enough available storage and that the device is working normally.
How to Edit an iPhone Screen Recording
After recording your screen, you can open the video in the Photos app and make basic edits before sharing it.
You may want to trim the beginning or end of a recording to remove the three-second countdown or unnecessary footage. You can then save the edited version and share it through supported apps and services.
For longer tutorials, consider keeping recordings short and focused. This makes them easier to watch and share.
Tips for Better iPhone Screen Recordings
Before you tap the Screen Recording button, close unnecessary apps and notifications that could appear during the recording. If you are creating a tutorial, prepare the screen you want to show before starting the countdown.
For voice tutorials, turn on the microphone and record in a quiet environment. If you are demonstrating an app, move through the steps at a comfortable pace so viewers can easily follow along.
It is also a good idea to check the finished recording before sharing it, especially if the video contains personal information, messages, account details, or other private content.
Frequently Asked Questions
How do I record my screen on an iPhone?
Open Control Center, tap the Screen Recording button, wait for the three-second countdown, and perform the actions you want to record. The finished video is automatically saved in the Photos app.
How do I screen record with my voice on iPhone?
Touch and hold the Screen Recording button in Control Center, turn on Microphone, and start the recording. Your microphone audio will then be included.
Where do iPhone screen recordings go?
Screen recordings are automatically saved to the Photos app. You can find them in your photo library and, on supported versions of iOS, under Media Types > Screen Recordings.
Why can’t I screen record an app?
Some apps may restrict screen recording of their content. Apple also states that screen recording cannot be used simultaneously with screen mirroring.
Final Words
Learning how to record screen in iPhone is easy because the feature is built directly into iOS. Simply add Screen Recording to Control Center if necessary, tap the recording button, wait for the three-second countdown, and start using your iPhone. When finished, stop the recording and find the video in the Photos app.
For tutorials and demonstrations, enabling the microphone can make your recording more useful by adding your voice. For simple screen captures, you can leave the microphone off and record the screen without narration.
SEO Meta Description: Learn how to record screen in iPhone with this simple step-by-step guide. Record your iPhone screen with or without audio and save videos to Photos.